
Breads

Desserts
Main Dishes
HOLIDAYS
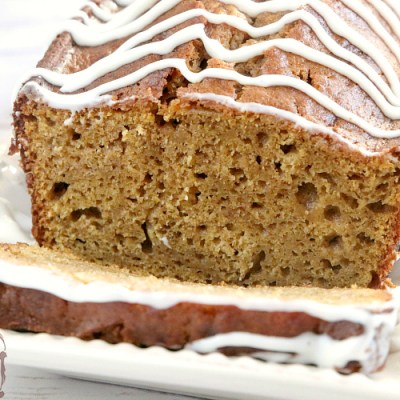
Quick Breads
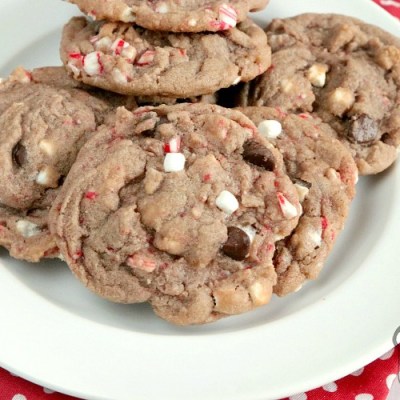
Cookies
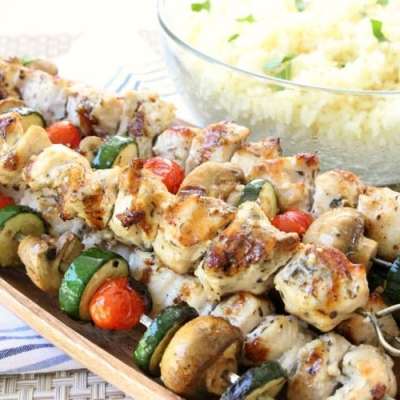
Chicken
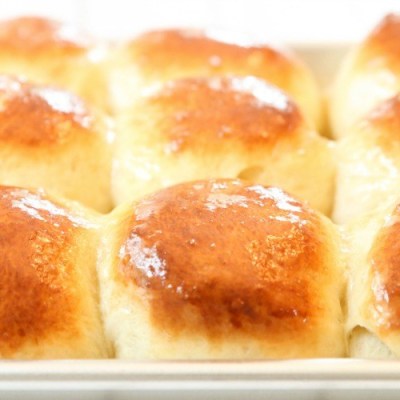
Yeast Breads
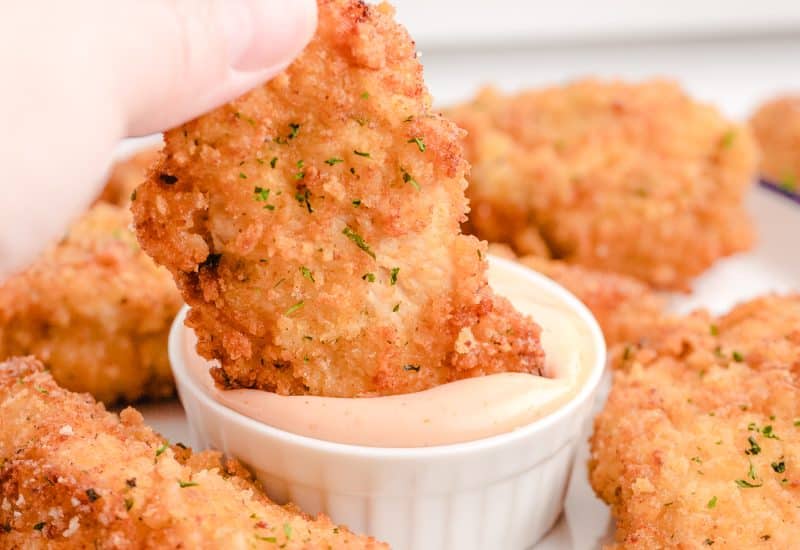
BEST CHICKEN TENDERS RECIPE
Best Chicken Tenders recipe for tender, juicy & flavorful chicken. Two simple tips to take your chicken strips from good to great! Shows how to make chicken tenders from scratch! Be sure to check out our updated collection of BEST EVER APPETIZER RECIPES here! Chicken Fingers are a favorite at our house! I've made homemade chicken strips View Recipe